DONNA'S DECEMBERSHOMEABOUTMESHOPCROCHET READSSTYLE BLOGSCURRENTLY READINGCONTACT
Showing posts with label National Craft Month. Show all posts

March 5, 2013

National Craft Month Demo Days at The Muse!

As part of National Craft Month, my local handmade shop, The Muse, hosts a local artist each Sunday of March to demonstrate a craft or skill from 2-4 in the afternoon. I was asked to kick off Demo Days and I decided to demonstrate how to use pom pom makers and then use them to make a pom pom rug! I only got about half way finished the rug, as I taught SO many wonderful people how to use pom pom makers, but I'm excited to finish the rug during this huge snow storm we're expecting this week.

Anyway, while I was teaching an adorable 5th grader how to use the pom pom makers, Bill Green, a photographer from our local paper, The Frederick News Post, came by and snapped a few photos. It's certainly not the best photo, but is a little bit of press to add to my resume! I wish they could have included the little girl, too, but that's ok!


Read the press release here.

What have you been crafting for National Craft 9and Crochet!) Month? 

xo,

March 31, 2011

National Craft & Crochet Month... signing out...


I just wanted to stop in and say thank you for joining us for National Craft & Crochet Month here at Donna's Decembers! It's been so much fun having so many kind, creative, and super crafty people visit the blog!

If you're new to the party, no worries, you can find those inspiration packed posts here. Feel free to bookmark the link for an easy resource! So many DIYs and inspiration sources!

I also want to take moment to say thank you to our wonderful visitors throughout May. If you haven't visited their blogs, shops, and twitter accounts, you must definitely should, and hey, you may even make a new friend!

Happy last day of March!

xo,
Liz

March 30, 2011

Guest Post: MIchelle from Scissor Quirk attacks her yarn stash!


Good morning! I am so, so happy to end our celebration of National Craft & Crochet Month here at Donna's with one of the sweetest and most creative bloggers of all the land, Michelle! I've sponsored Scissor Quirk a few times within the last few months, and it has been so enjoyable getting to know Michelle and her crafty talents! Not only is she an incredible scrap book designer:
Ohworry4_500

But, she's not too shabby with crochet and embroidery as well! Check out this ADORABLE mp3 player coozie DIY she posted! So cute and such a sweet way to package a new iPod for a special person :)

Arrow0_800

Without further adieu...
Photobucket
Hi there! It's Michelle, from Scissor Quirk, here. :)

I've recently begun a love affair with all things yarn! I learned to crochet last Spring and have been hooked, since! My mind seems to work faster than my hands, too, so - coupled with the newfound love of yarn and an ever-growing stash of it, this means I have tons of projects on the go at any given time! Usually, that's not such a bad thing - it's nice to hop & skip from project to project when one gets mundane or a new idea strikes! :)


However, the problem is that I live in a very small 600 square foot apartment with my husband, and my 'craft room' is actually a corner of our living room - much like some of you, I'm sure! This means storage is always kind of an issue - especially when you're making room for *another* craft in your home, and these temporary, bulky piles of yarn need someplace to go! lol.

I've had to come up with some sneaky ideas to get them all hidden away - or to 'store' them in a pretty, visible-in-the-living-room kind of way. Here are some ideas that I've used lately for project storage from around my couch/desk - if your work-in-progress projects are scattered all over the place, look for little nooks or open spaces to utilize these ideas, yourself:

I have an Ikea coffee table (about 3 feet from my workspace) in my apartment, and it has this handy-dandy ledge underneath it, so it can double as a storage space, as well. I snuck a little bin under there the other day to hold a crochet baby sweater I'm working on - not only is it hidden, but when I slump down on the couch, it's within my reach to work on! My plan is to keep it filling it with new things when I finish what it's currently holding.


The thing about work-in-progresses is that they're only around temporarily - so you have to make space for them while you're working on them, and then it'll be empty (at least for a little bit) once you're done! It's a good idea to save any pretty empty bins or containers you come across (especially when purging your craft space, next time!), and use them to store these temporary projects around your workspace in a pleasant way.

I have an old yellow bin (or a 'trash can' for a few bucks at Ikea - never used as a trash bin, of course) that I used to use to store large rolls of paper. It almost went to the thrift shop as a donation, but then I realized it would be the perfect crochet blanket-in-progress holder!


An empty rolling bin with a lid is handy for bigger projects - like this work in progress granny square blanket of mine. It keeps all the little bits in one place, and when the lid is on you can roll it right under your desk or coffee table or even stack things on top of it easily until you have a chance to get back to it!


And my favorite little work-in-progress holder to use, mostly because it's the prettiest - is a large flat round plastic serving tray that I picked up at Ikea a few years ago. I pile whatever I'm working on at the moment on it, and then it easily moves with me to where I'm working, or to store away when we need the coffee tabletop for drinks or food - I've used it to hold quicker projects like crochet garlands, granny squares, and other smaller projects - and I can hide it on my desk or on top of my shelves when I'm not working on these things really quickly!


I hope I've inspired you to keep your projects tidy & open (or closed & hidden!) - but, either way, organized and useful while you're chugging away on them!

Thanks so much for having me guest-post, Liz! :)


I hope this helps you get your craft room organized and allows you to do a bit of spring cleaning!

Don't forget to stop by and visit Michelle!


March 25, 2011

Bookmarks with Personality!


One of the best gifts I was able to pull together in a hurry last winter was a set of bookmarks (follow the link for the pattern) made from a cotton sock yarn. They were the perfect treat for my fellow English teachers and a great way to add onto the gifts for my aunts and uncles.

Recently, I have been doing a little research on bookmarks as I have a few special events coming up that I want to give people books as gifts, but also with something crocheted from the heart. That's when I stumbled across Bigu Handmade (a Spanish blog) via Craftzine.

Look at these beauties!


and these...

So fun and gorgeous! I'm totally inspired to get back into my delicate yarn bin and start stitchin' some of these pretties!

And yes, the patterns are available for free! Just use Google Translate to take care of any language barriers (but there are also diagrams and wonderful how-to photos)!

xo,
Liz

March 24, 2011

Guest Post: Malori's Lavendar Chocolate Chip Cookies!


Good morning! I'm so happy to have Malori from Sunday Morning Sugar here today to share a yummy recipe with you! Sometimes I think we forget how talented and "crafty" people are in the kitchen. Some of the most creative people I know flourish in the kitchen! So, I'm happy that Malroi was eager to add a little twist to my month of celebration!


Hello everyone!

I’m so excited to be here today on Donna’s Decembers doing this little guest post. I usually blog over at Sunday Morning Sugar so if you like what you see, be sure to stop by and say hello :).

When Liz emailed me and asked me to come up with something crafty, my mind instantly went to food! I don’t know about you, but the idea of a crafty evening sans delicious snacks sounds awful. I’ve been thinking about great recipes for nights spent crafting and I found some simple ideas that you can use to spice up your next crafty gathering.
(Could I have said the word craft any more in that paragraph? I think not…)

Finger foods that don’t make a mess are really the best for these sorts of gatherings. You don’t want something that takes away from your focus and you learned your lesson about messy foods when you ruined Great Grandma Ruth’s scrapbook with your Sloppy Joe.

The ultimate finger food is a cookie. Some of you may disagree but you’re clearly wrong and I’m right ;). I really don’t think you can go wrong when you have a cookie in one hand and a paintbrush in the other. So today I’m going to share with you a recipe for lavender chocolate chip cookies. I found it last year and made them for my family for Thanksgiving and they were a hit. Something about baking with lavender is like smoking crack for my dad and I. We really can’t get enough of it. So here goes…


Lavender Chocolate-Chip Cookie

Makes: 8 servings.

2 cups all-purpose flour

1 teaspoon baking soda

1/2 teaspoon salt

3/4 cup unsalted butter, softened

1/2 cup sugar

3/4 cup packed light-brown sugar

1 1/2 teaspoons dried lavender, lightly crushed

1 large egg, at room temperature

1 teaspoon vanilla extract

1 1/4 cups (about 6 ounces) semisweet and/or dark chocolate chunks


1. Heat oven to 325°. In medium bowl, whisk together flour, baking soda and salt. In large bowl, with electric mixer, beat butter, both sugars and lavender until light and fluffy, about 2 minutes. Add egg and vanilla; mix until fully incorporated. Add flour mixture and beat until just combined. Stir in chocolate chunks.


2. Roll the dough into balls (about a tablespoon each) and place on a cookie sheet. Cook for about 10-12 minutes

3. Enjoy!


I can’t remember where I found the original recipe for this but it was originally supposed to be a giant cookie-cake situation. I think it’s much better in smaller doses :).

I hope you enjoy these cookies and your craft month!!

Xoxo,

Mal

Be sure to checkout Malori's blog and shop!

March 20, 2011

Feeling felty? Guest Post from Bean Bell!


I'm so happy to have another guest post to celebrate National Craft & Crochet Month here at Donna's Decembers. Today's guest post comes from one of the sweetest bloggers I know. Bean is a pro at upcycling and recycling craft supplies, so in a time when pennies are being pinched and clutter is no longer an option, Bean has a fabulous DIY using felt scraps you probably have collecting in a drawer or bag somewhere!

Hello, I'm Bean Bell!
I got really restless and bored at the end of 2010 and instead of having a midlife crisis, I started a blog. I'm too young for a midlife crisis, anyway! I decided to merge my love of craft materials with my admiration of animals.  I am a part-time nanny (aka Beaniesitter) and recently sold fancy chocolates, worked in a pet store, and volunteered at Brookfield Zoo.

I hope you enjoy seeing what animals, critters, and beasties I create!

I have been making many stuffed critters and have a ziploc bag full of felt scraps. I am feeling the urge to do some spring cleaning but couldn't just throw away all the brightly colored fuzzbits. Instead I made an ice cream pint cozy with them.


For this project you need:
-paper
-felt scraps
-scissors
-pencil
-sewing thread & needle

 
First, I traced the pint on the paper, rolling it along the paper to get the shape I needed. It needs to be slightly longer than needed so you can overlap the felt when the felt strip is sewn together.


I sorted through the scraps, pulling out shapes that looked aquatic. I trimmed one into a more fishy shapes but left most of them as is. I stitched them onto the felt base with a simple running stitch and gave the fish french knot eyes.


After all the scraps are attached, fit the felt strip around the ice cream pint and sew together where it overlaps. Make it snug! It can fold flat in a drawer between ice cream noshing and will keep your hand cozy warm!


What a great way to avoid trashing easily reusable felt scraps, plus keeping your icecream container looking adorable ;).

You could also do this same project for aluminum cans turned storage units!

Thanks so much, Bean!

March 15, 2011

DIY: Peacock Feather Necklace with Chrissy Gemmill!


I am so excited to share today's DIY project with you to continue our celebration of National Craft & Crochet Month! Chrissy Gemmill is a local jewelry artist in Frederick that I have come to know over the years since I have been living in the downtown area. You may remember Chrissy from previous posts, as she was the teacher of the class we took for my bachelorette party last June and she attended my "Statement Scarf" class in February! Without further adieu...

Hi Donna’s Decembers Readers!

My name is Chrissy Gemmill and I am a jewelry designer, instructor, wife and mom. I write a blog where I chronicle the daily goings on in my studio and little world in beautiful Frederick, MD. I love what I do and my passion for jewelry making is life long. It is a true pleasure to have the opportunity to share what I do with fellow crafters!

I am excited to share with you my Transforming A Feather Into A Wearable Pendant In Just Four Easy Steps DIY project! This project requires NO jewelry making experience. Jeweler’s pliers are helpful but not necessary, this piece can be created with a few common household accoutrements!

I originally made this peacock feather necklace as a gift for a friend. The peacock is symbolic of kindness, patience, good fortune and immortality.

When I began designing with this fanciful feather I found such beauty in the feather alone that I didn’t want to take away from it with over embellishments of the chain or findings. The end result was so simplistic and steps to create it so simple that I thought one day I should share this simple DIY project! Thanks to Liz for finally prompting me to follow through!

Transform A Feather Into A Wearable Pendant In Four Easy Steps!
By Chrissy Gemmill

Materials List

(available at Joann Fabrics and most other craft stores)


• Feathers (selecting feathers with fabric at the top is helpful).
• 26 gauge wire (I used silver tone but colored wire would work nicely)
• Wire Necklace Or Cording

Tools(available at Joann Fabric and most other craft stores):


Pliers (optional); 1 wire cutter, 1 flat nose, 1 round nose, 1 chain nose (tapered)

How to improvise without buying tools:
• Household scissors; will easily cut 26 gauge wire
• Your fingers; great for bending and twisting wire into place
• Round chopsticks or a pen; to shape and bend a loop
• Tweezers; to push in wire ends

Steps to create a coil and loop for your feather:

Step 1: Make a coil.


• Cut about 6 or so inches of wire

• Place your wire at the fabric base of the top of the feather

• Begin your coil by placing about two or so inches of wire on the front side of the feather and then wrap the long end of the wire around to the opposite side

• Continue your coil by using your fingers and wrapping the wire around while working your way up the top of the feather. Remember to pull the coil tightly so that it does not slide off the top of the feather. Coil as many times as you find aesthetically fitting.

Step 2: Making a loop


• To create your loop stop your coil making at the back of the feather and grab your round nose pliers (or chop stick/pen) then bend the wire over the round part of your tool and take the long part of the wire over the front of the feather.

• To secure the loop in place take the long part of the wire and tuck it under the tail then bend both wires in the opposite direction to the back of the feather.

Step 3: Secure and finish the loop

 
• Take the longer tail and wrap it up and over the start of the loop

• Carefully with your chain nose pliers (or tweezers) wrap the two tails around each other to secure them in place

• With your wire cutters (or scissors) snip off the excess wire and then bend or wrap any little extra wire tail under the coils.

• Using your fingers or flat and/or chain nose pliers gently adjust any wires into shape.

Step 4: Add to wire necklace or cord


• If you are using cord, cut it so that it can simply be tied around the back of the neck. If you have chosen a wire necklace simply slide your pendant on and it is ready to wear!


Thank you Chrissy! What a beautiful statement piece for spring and summer!
For more information about Chrissy or Chrissy Gemmill Jewelry:

Check out our other National Craft & Crochet Month posts!
xo,
Liz

March 14, 2011

Happy Monday!

(pintrest via Marykatemcdevitt)

This is my motto for the week: PRODUCTIVE.

It's a full week of school; my first since December without a student teacher.
I have a lot of laundry to do.
I have 4 or 5 bags of donations for Good Will.
I have a LOT of awesome blog posts coming your way! Hooray!

We posted quite a bit over the weekend.

Did you see our Spring Style Notebook DIY?

What about making your own hook case or checking out our review of my own Crippenworks case!

In love with peacocks?
So are we this week! Check out our inspiration post and check back tomorrow for a beautiful DIY using peacock feathers!

xo,
Liz

March 12, 2011

Make Your Own Hook Case!


After Thursday's late night post about my crochet hook case, I wanted to post this amazing DIY from Design*Sponge that explains how you can make your own needle case at home!

(CrochetBlogger--I thought of you and your comment from the previous post when I saw this! I hope it works out for you!)

DSC_0751

When you're looking over the DIY, keep in mind that it is designed for knitting needles. If you're a knitter AND a crocheter, I think it would be easy to double the case for all your hooks. If you want to separate your notions, you may want to adjust the measurements for a more crochet hook friendly design. I can't imagine it would be hard, just a little measuring!

xo,
Liz

For more National Craft & Crochet Month posts go here!

Spring Style Notebook: Part 2


I'm back with part 2 for your Spring Style Notebook. As mentioned last week, you need a few supplies that are inexpensive and you may have lying around your house.

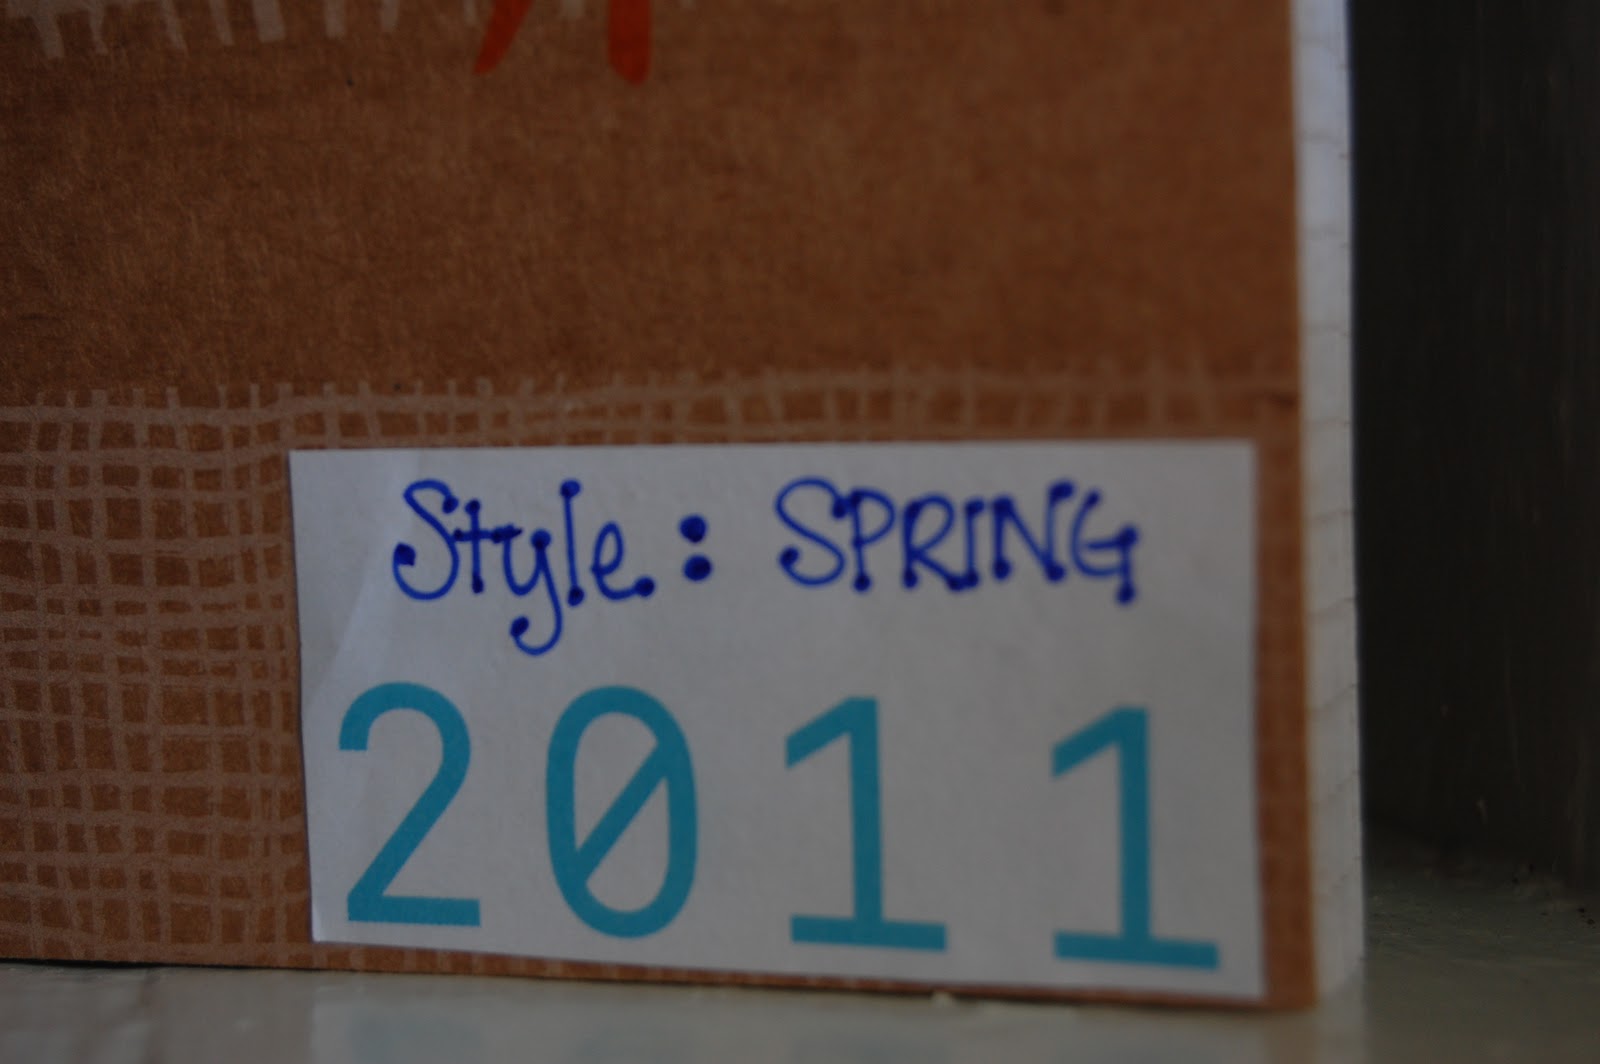
To start, I decided that this was such a great use of my time and helped me avoid the inevitable clutter of cherished magazines around my house, that I am going to do this for each season! So, the most appropriate name for my style notebook was "Spring Style: 2011" and that is what I put on the front!


Now, with no rhyme or reason, as I was going through my stacks (upon stacks) of cherished magazines and catalogs, I cut out all photos, fonts, and graphics that I found inspiring.

I paid very close attention to the details in each photo and label the ones that truly attracted it to me. After pasting it inside my notebook, I wrote little notes or messages explaining what I loved most about the photo. This is super important, because I have been carrying this Style Notebook with me in my purse (I purposefully chose a 5x7 notebook so it would easily fit into my satchel). It's important to carry this notebook with you when you go thrifting, shopping, or to a craft fair so you can find a close representation of what you love most!

Here are a few samples of my pages!


If you notice, these two pages focus mostly on home goods.

The left side speaks of organization, color schemes, utility, and the package of seeds which inspires me to create a few inexpensive wall decorations!

The right side is a photograph of two quilited wall hangings of maps. I love these! Cory and I decided he would paint two canvases with a similar idea and hang them in our living room!

See what I mean? You don't need to be a copy cat, but if you truly love these items, you might as well find a way to incorporate them into your life!


As you notice below, there was a specific article about decorating that I really loved in a specific magazine (probably Better Homes & Gardens), so I wanted to save a few of the details. I cut out the portions of the article I wanted to save, pasted them down, and now I don't have to worry about searching high and low to find that copy of the magazine!


I didn't limit my notebook to home decor, though. As you can see, I clipped pretty outfits I want to recreate for spring and summer with the appropriate details. I'm going on a little shopping trip with some girlfriends this afternoon and am hoping to make the magic happen!


And then, of course, there is the beloved Anthro cataglog. For me, their catalogs are works of art, and I so desperately want to hang on to each and every one. I think this is a better use of my space, though.


Here are the magazines I searched through (and are my regular monthly reads):
*NYLON
*BUST
*The Nest
*Real Simple
*Vogue
*Better Homes & Gardens
*Southern Living
*Country Living

This DIY also helped me realize how to (finally!) describe my style!  I realized my style is definitely color and pattern driven, but I appreciate more conservative fits and shapes. This is definitely true in the home and in my wardrobe.

Don't be afraid to branch out to new magazines and resources! You may realize that your style is a bit more broad than just what shows up in your mailbox every month!

xo,
Liz

For more National Craft & Crochet posts, click here.